Thursday, 15 May 2014


DIY HANGING BASKETS


Ive always fancied these and have come to find how easy they really are to make so i deem to share my method with you


INGREDIENTS;
Ideally twine or your selection of thread just be wise to consider its strength.
Scissors.
A model bottle or vase could also prove useful to set out an idea of measurements.

So Just cut eight pieces of thread about an arms length, line the ends up on one side and tie a simple loop knot making sure its quite tight otherwise you might find unevenness may creep into your final product which may happen anyway giving if its your first go but we will try to avoid 


Now if your go about the length of your index finger away from the head of your knot pull away two pieces of thread that are ideally sitting beside eachother and using the same technique knot them together then slide over and do the same to the next pair ensuring they are all fall level to one another, do this till you have four pairs
Now grabbing one single thread your just going to skip its already connected partner and hop to the next thread joined to the pair directly next door do this till you again have four pairs of knots, now you can go the same length again even make it a little longer this round or shorter maybe first time keep it similar but through practise divvying it up can make for different looks.
From this point you can either continue another layer it depends on the size of the object you plan to sit inside in that case a model becomes handy.
With tying off your baskets you should have enough left over to tie a knot at the very end which you could use as a hold or of not just cut another thread and attach on a looped hold.


In mere minutes you'll have one whipped up and each time you should trail different methods of knotting and the distance of your knot too can make for a unique look.
enjoy!


Monday, 24 March 2014

DIY! Flowers Head Pieces

Without going too deep for a simple floral craft tutorial, I'd first like to share its point. Floral crafts and arts hold technique, craves style and an artistic eye. I feel some have been over shadowed to the belief that only those who have this, can play with the arts of it. Of which I demand untrue, I think the beauty of working with things in particular perishable beauties such as flowers are their unpredictable forms and demeanour. The Bounds can be broken my friends! Forget what it's suppose to be, use things for the pulchritude of them and the allurement of working with them, have fun and enjoy the materials, enjoy the process that will later produce your outcome. Look not only for the outcome-okay done with that now here's an as simple and quick tutorial to making your very own floral headpiece or crown, I hope you try it out !


INGREDIENTS 

- Floristry Wire 
(24g & 20g)
-Floristry Scissors 
-Parafilm Tape
-Accessories, ribbon or twine
- Flowers ;
points to consider when your selecting are life expectancy without a water source, size of heads to the amount of stems you'll need and durability.
iv'e found using chrysanthemums are easy because the can last up to a couple of days and the come in a wonderful range of colours too!   

First off cut off the amount of heads you think you'll be using wise to throw a few extras in there for you never know you may need them, when cutting leave about an inch of stem from the head.


Now the next step is very simple but can seem complicated so don't let me make it so;
This is the point where you gather your trusty scissors, parafilm and wire. At this point your only using your 24 g wire which is the thinner, cut them down to about half the size rather than the length they come in. and aiming to pierce through the middle of the stem directly under the head as you see in the pictures below to then bending the wire back down like a pin once pushed through.


Now grab your parafilm and starting under the head of the bloom place the starting strip of parafilm, slowly stretch the tape just a little whilst twisting and working your way down the stem just as you see in my picture


finish off shortly after the stem ends by breaking off the tape at that point and through pressure you'll find the ease to appliance with the tape.
So do this with each bloom and or accessories you throw in the mix if you have so chosen
Now you should have a thicker wire about 20g to which you make your skeletal frame with for your crown. You can either make it so it is fully round your head or like i've done now bend over the edges as so i can thread through yarn at the end to adjust it later as so the wear becomes more versatile.
once you have your base shape, parafilm the whole length of wire as to help add friction for the parafilmed stems to rub up against.
Now to prepare for the next step id say have all your blooms with you and enough parafilm torn off to set you up for the next little bit even so you can always tear off more. From here its easy the basic idea is to attach the blooms now to your crown, your method can be by colour or bloom or there doesnt need to be a method at all the wilder the better!
To attach each bloom just remember to place the head up against the wired base as you so would like it to be positioned then using the same technique with the parafilm as you have been bind the blooms stem to the base you might find you need to cut the rest of the wire after the appropriate amount of the stem has been secured to the base. I normally like to place my heads quite close together directly under one another but that just depends on how thick you wish it to be or the effect in which you are going for.

After awhile your crown should start to show and it will start to look like this, depending in your space and placements remember.
Too soon you'll reach your end and at this point you just cut down any longer remaining wires and parafilm to end so as you have a clean finish. Now you can loop through ribbon, yarn or twine whatever works for an adjustable backing.

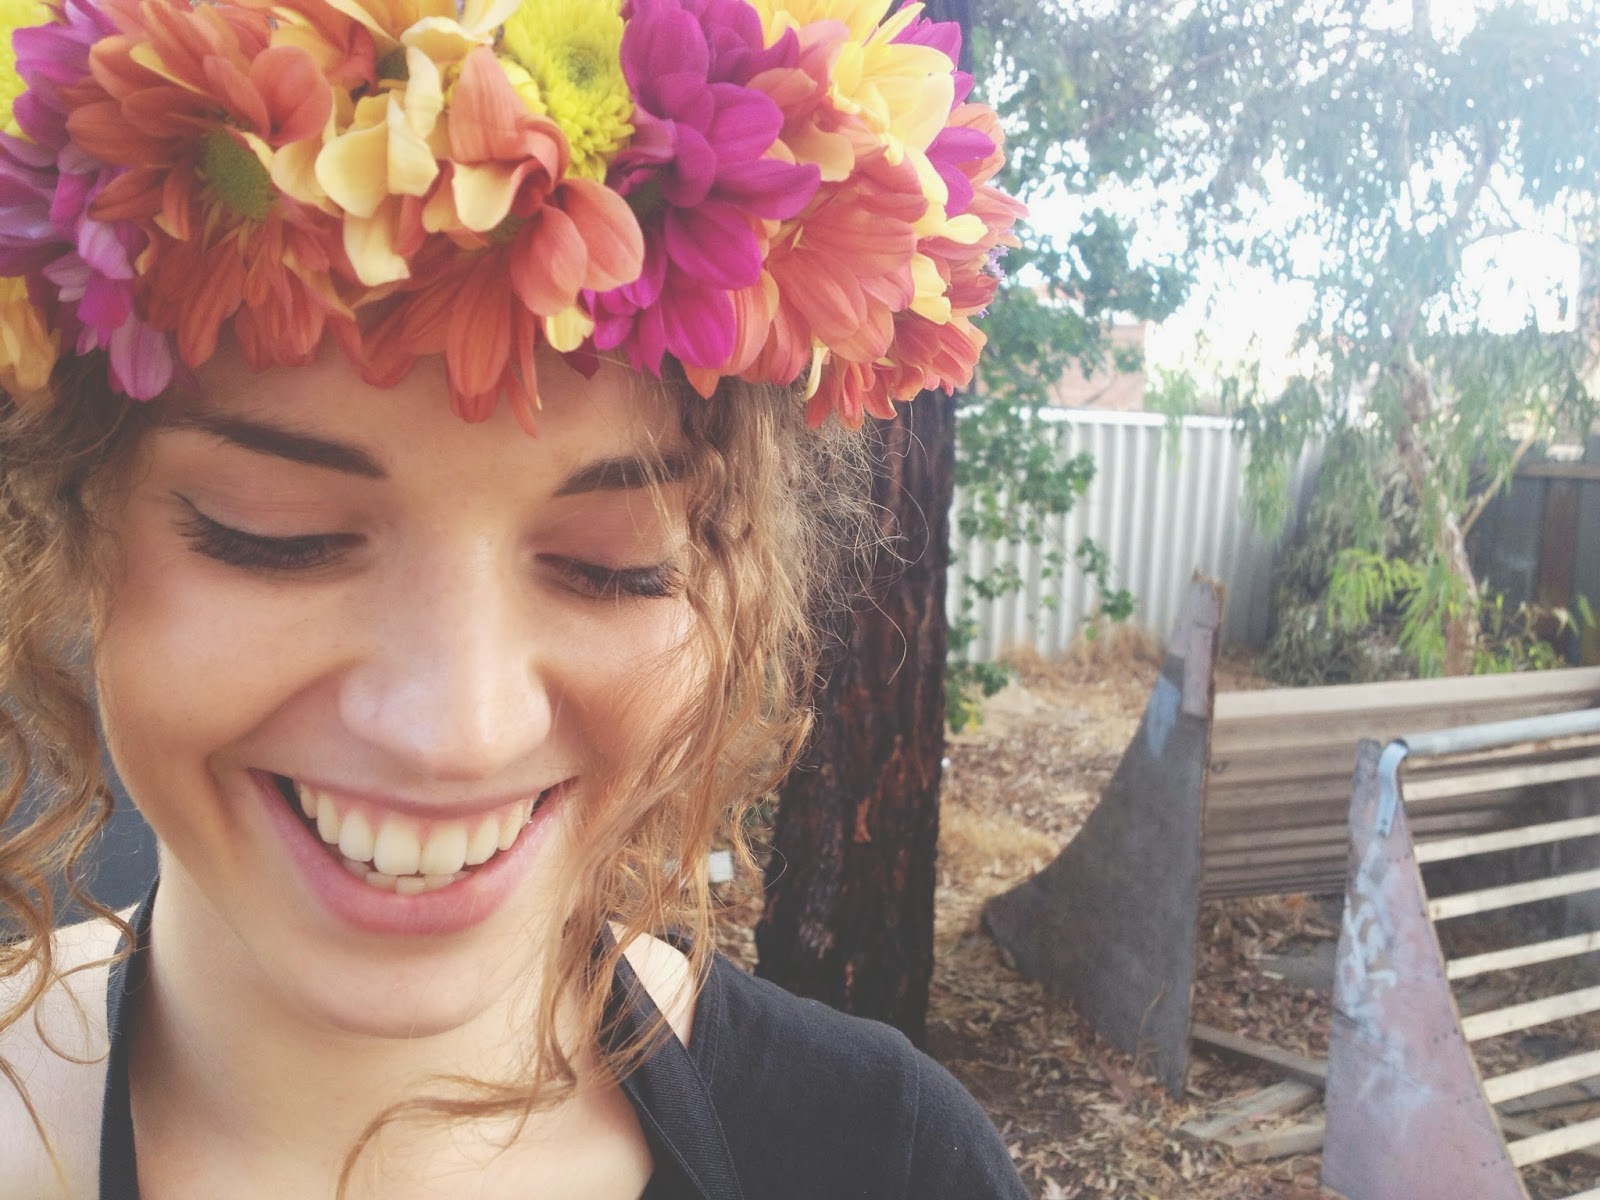
Now it may not be perfect and if it is your insane for i remember my first one looked like i had sat on some flowers and stabbed wires into them, still i'm trying to perfect the steps but i hope if you attempt to make a flower crown of your own you enjoy the process as i always do. Its such a lovely activity and the end product if you are pleased with it fills you with an even more immense feeling, Below is my most beautiful friends hannah and lilly one wearing the piece i just walked through putting together and another done in blue.
                                                                   ~ Enjoy playing~


Sunday, 2 March 2014

Paper Flowers


 -PAPER FLOWERS-


Things you need`
- Paper, you can use newspaper, paper from old books or whatever your heart desires.
(also will need about 8 pages for each flowers)
- Scissors 
- Floristry wire


Aswell as being extremely easy to make these paper flowers use for something unique to compliment a gift or even as a gift.
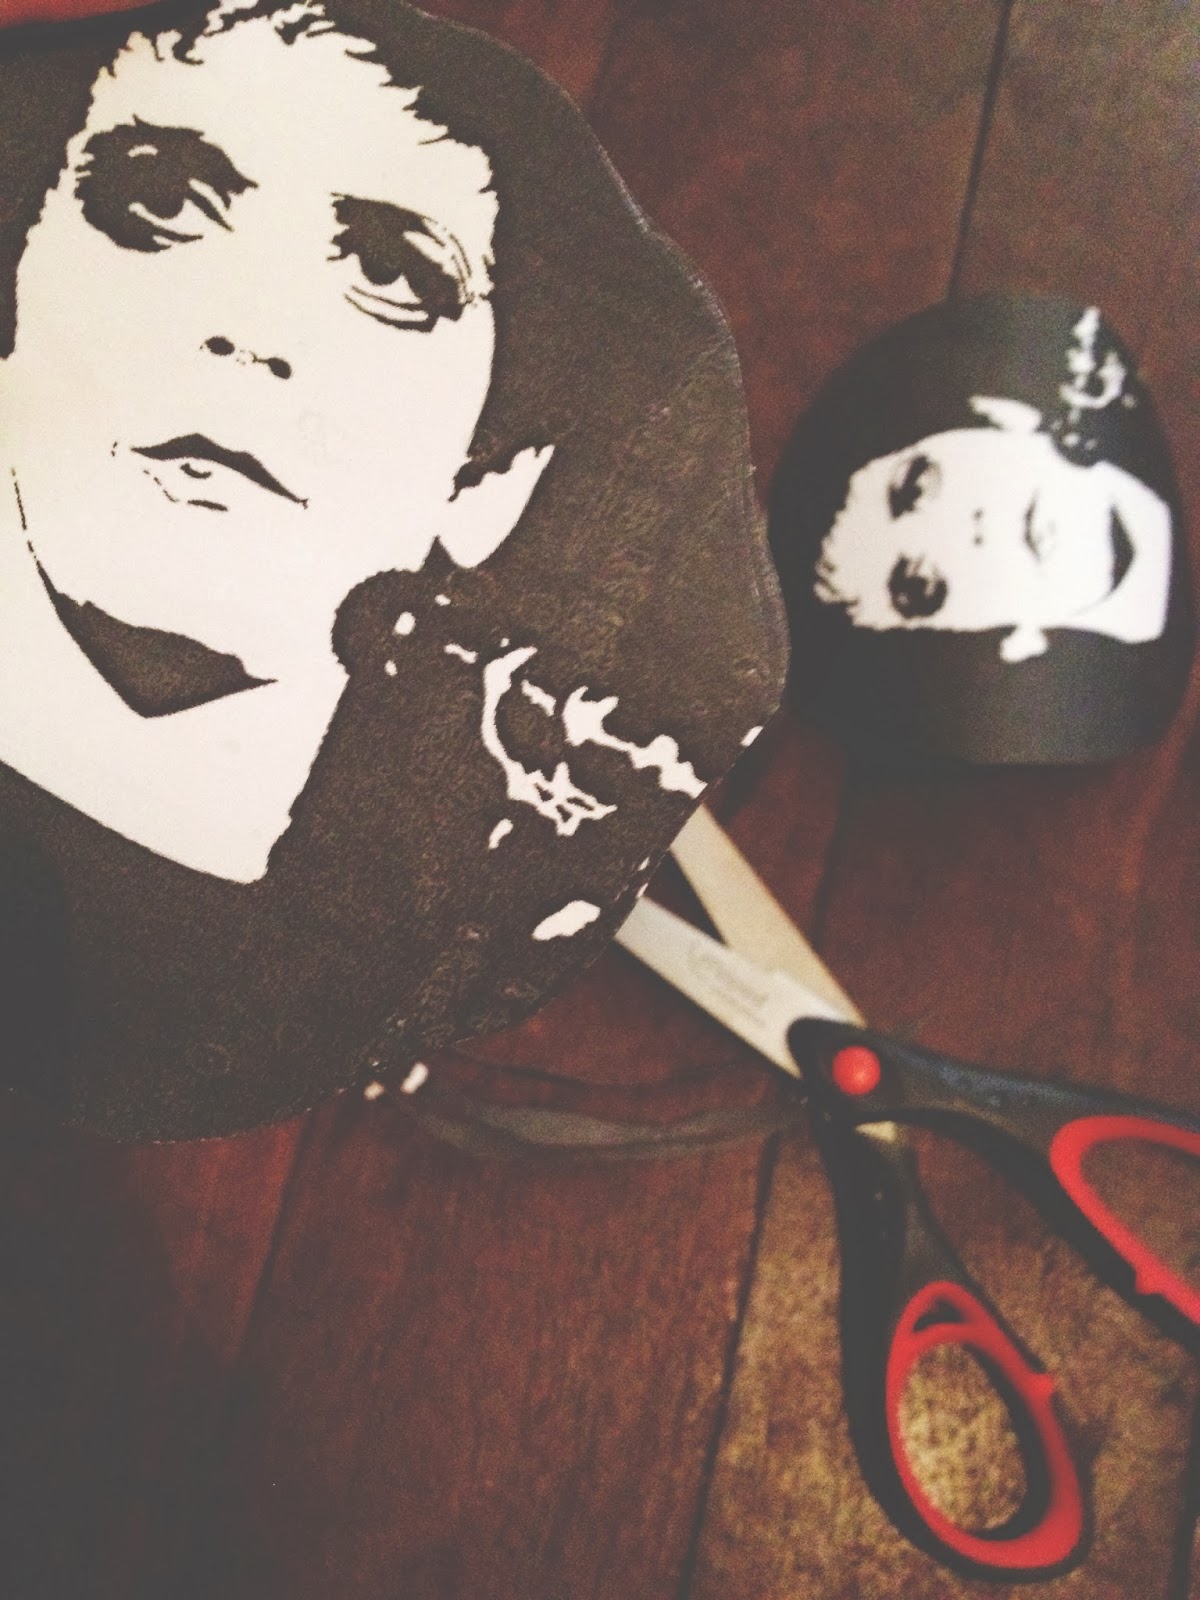
One of my dearest friends recently had a turn of age and has a deep love for Lou Reed, so in her bouquet i made for her i wanted to pop a few paper flowers in there cut from pictures of Lou Reed.


Now allowing 3 pages for the largest size, 3 for your medium and 2 for the smallest cut your circles to fall into those groups. 


Now theres no particular right or wrong with this step just simply cut slightly rounded edges around your circles this i find gives for a more realistic look to your flower.
Do this for all sizes


 you now grab them one at a time and scrunch them up,
once they are all done slowly undo them being mindful not to rip them as
i've done it many times before and still do. This step is to add a look of imperfection and texture which makes for a more tangible paper bloom. 


Grabbing a sprig of your wire and a pair of scissors,
cut the wire in half and bending it over your finger to make a pin.


Gather all of your circles for one flower now and arrange them in size from largest to smallest, starting with the smallest sizes start to slide your circles one after the other onto your wire pin by simply puncturing the centre of your circle equally with either side of the pin then slide each up to the top only then to be followed by the other.


Once you have them all on your pin, bend the wires underneath to secure them in place.
Now all theres left to do really is make your circles looks like a flower, i find layer by layer having a bit of a play and ruffling them forward bending some corners down you'll get a feel for how you want it but have a play your first of may not be perfect for mine certainly was not, but also i think imperfection adds a character to them i encourage.


     So these are my four i put together for the bouquet, now if you wanted to make a bouquet like this, all you simply need is your choice of flowers and some foliage.
And you could do this with a bouquet or in any floral design the list can leak on this is merely an example;


And through out the make of or once done you can insert your paper flowers to sit where you see fit in your little bundle .

But this is certainly not the only use for these paper blooms. You can simply whip up a quick paper bloom to place ontop of a gift to complete the wrapping, you could make a flower headpiece from your blooms attached together a similar process to that would be the making a wreath which i think is even a nice idea for those seasonal times when theres not even a silver to spare you can whip up one of these bad boys.
I recently made one for a friend out of an old poetry book i got for 50c at the second hand store.


~Thankyou and enjoy~

Friday, 28 February 2014

My Flower Stuffed Pumpkins

This idea is so splendid due to its elasticity.You really could use any fruit or vegetable for your base even better experiment beyond our modern day culinary vegetable or botanical fruit, do keep in mind you need a secure structure so that your piece doesn't come to fall apart on you later.

Ill show you a basic but easy roll through on how i construct mine;

~THINGS YOU NEED~
-Your base
- Floristry scissors
- Floristry tape
- Wire
- Floristry foam
- Knife
-And your choice of flowers, remember to relate your choice of flowers and their size of heads to your choice of base as to save awkward situations later.
-Just a tiny bit of foliage too
(All these things you can easily purchase from your local flower market or arts and craft store, and in my opinion are things you will find handy in the future if you like to do these sorts of things.)


 So first off choose your base fruit, vegetable or material you have so decided in this case i used these three pumpkins i was so generously given, whatever you see here you can truly apply to all different scenarios which i think is quite brilliant so don't limit your imagination ~

Now first i planed how i was going to make my incision on each pumpkin,
i chose to cut mine each differently but that may help you with an idea for your own.


Take your knife! and start gutting!
For my first pumpkin you can see i cut a rectangle shape in the centre of its belly and gutted out the appropriate amount of flesh needed to insert the floral foam, you can easily estimate this by recognition of the stems that soon need to go in but once chopped down they really don't need much room at all id say about an inch. For my second pumpkin you can see i've done a very similar thing to the first by gutting him after i removed his head (don't throw the heads away for they make for a decorative use later on.)
And the third i chopped a chunk out of the middle.


And now you get your floral foam, your knife and floral tape and some sprigs of wire.
With your knife shape up some pieces of foam suitable to fit into your gutted pits.
for my last one i shaped a slightly smaller and circular shape to replace the chunk i earlier cut out.
to secure your pieces of foam in place apply some tape down and even using the wire as pins you can poke it through the foam into the flesh for an even more secure hold.
  
(to make wire pins simply cut your sprig of wire up into smaller pieces then bend one angle around your finger these make brilliant to fork things in place)


 Now the fun begins,
Get your flowers and start inserting make sure to cut stems quite short to suit the very little foam they have to sit in. don't fret if it doesn't look to your liking instantly for they never do just enjoy the process and no matter what its bound to be beautiful in the end, enjoy!


A quick end note once done you can use this idea as a lovely and unique dining table piece or a display at a party. I hope you are happy with your end product and i'm ever so grateful that you tried it to those who may do so.
Many Thanks and till next time when i hope maybe to share something new with you again~

Lauren Jane Salt

laurenjanesalt@hotmail.com