Without going too deep for a simple floral craft tutorial, I'd first like to share its point. Floral crafts and arts hold technique, craves style and an artistic eye. I feel some have been over shadowed to the belief that only those who have this, can play with the arts of it. Of which I demand untrue, I think the beauty of working with things in particular perishable beauties such as flowers are their unpredictable forms and demeanour. The Bounds can be broken my friends! Forget what it's suppose to be, use things for the pulchritude of them and the allurement of working with them, have fun and enjoy the materials, enjoy the process that will later produce your outcome. Look not only for the outcome-okay done with that now here's an as simple and quick tutorial to making your very own floral headpiece or crown, I hope you try it out !
INGREDIENTS

- Floristry Wire
(24g & 20g)
-Floristry Scissors
-Parafilm Tape
-Accessories, ribbon or twine
- Flowers ;
points to consider when your selecting are life expectancy without a water source, size of heads to the amount of stems you'll need and durability.
iv'e found using chrysanthemums are easy because the can last up to a couple of days and the come in a wonderful range of colours too!

First off cut off the amount of heads you think you'll be using wise to throw a few extras in there for you never know you may need them, when cutting leave about an inch of stem from the head.

Now the next step is very simple but can seem complicated so don't let me make it so;
This is the point where you gather your trusty scissors, parafilm and wire. At this point your only using your 24 g wire which is the thinner, cut them down to about half the size rather than the length they come in. and aiming to pierce through the middle of the stem directly under the head as you see in the pictures below to then bending the wire back down like a pin once pushed through.


Now grab your parafilm and starting under the head of the bloom place the starting strip of parafilm, slowly stretch the tape just a little whilst twisting and working your way down the stem just as you see in my picture


finish off shortly after the stem ends by breaking off the tape at that point and through pressure you'll find the ease to appliance with the tape.
So do this with each bloom and or accessories you throw in the mix if you have so chosen

Now you should have a thicker wire about 20g to which you make your skeletal frame with for your crown. You can either make it so it is fully round your head or like i've done now bend over the edges as so i can thread through yarn at the end to adjust it later as so the wear becomes more versatile.
once you have your base shape, parafilm the whole length of wire as to help add friction for the parafilmed stems to rub up against.
Now to prepare for the next step id say have all your blooms with you and enough parafilm torn off to set you up for the next little bit even so you can always tear off more. From here its easy the basic idea is to attach the blooms now to your crown, your method can be by colour or bloom or there doesnt need to be a method at all the wilder the better!
To attach each bloom just remember to place the head up against the wired base as you so would like it to be positioned then using the same technique with the parafilm as you have been bind the blooms stem to the base you might find you need to cut the rest of the wire after the appropriate amount of the stem has been secured to the base. I normally like to place my heads quite close together directly under one another but that just depends on how thick you wish it to be or the effect in which you are going for.

After awhile your crown should start to show and it will start to look like this, depending in your space and placements remember.
Too soon you'll reach your end and at this point you just cut down any longer remaining wires and parafilm to end so as you have a clean finish. Now you can loop through ribbon, yarn or twine whatever works for an adjustable backing.

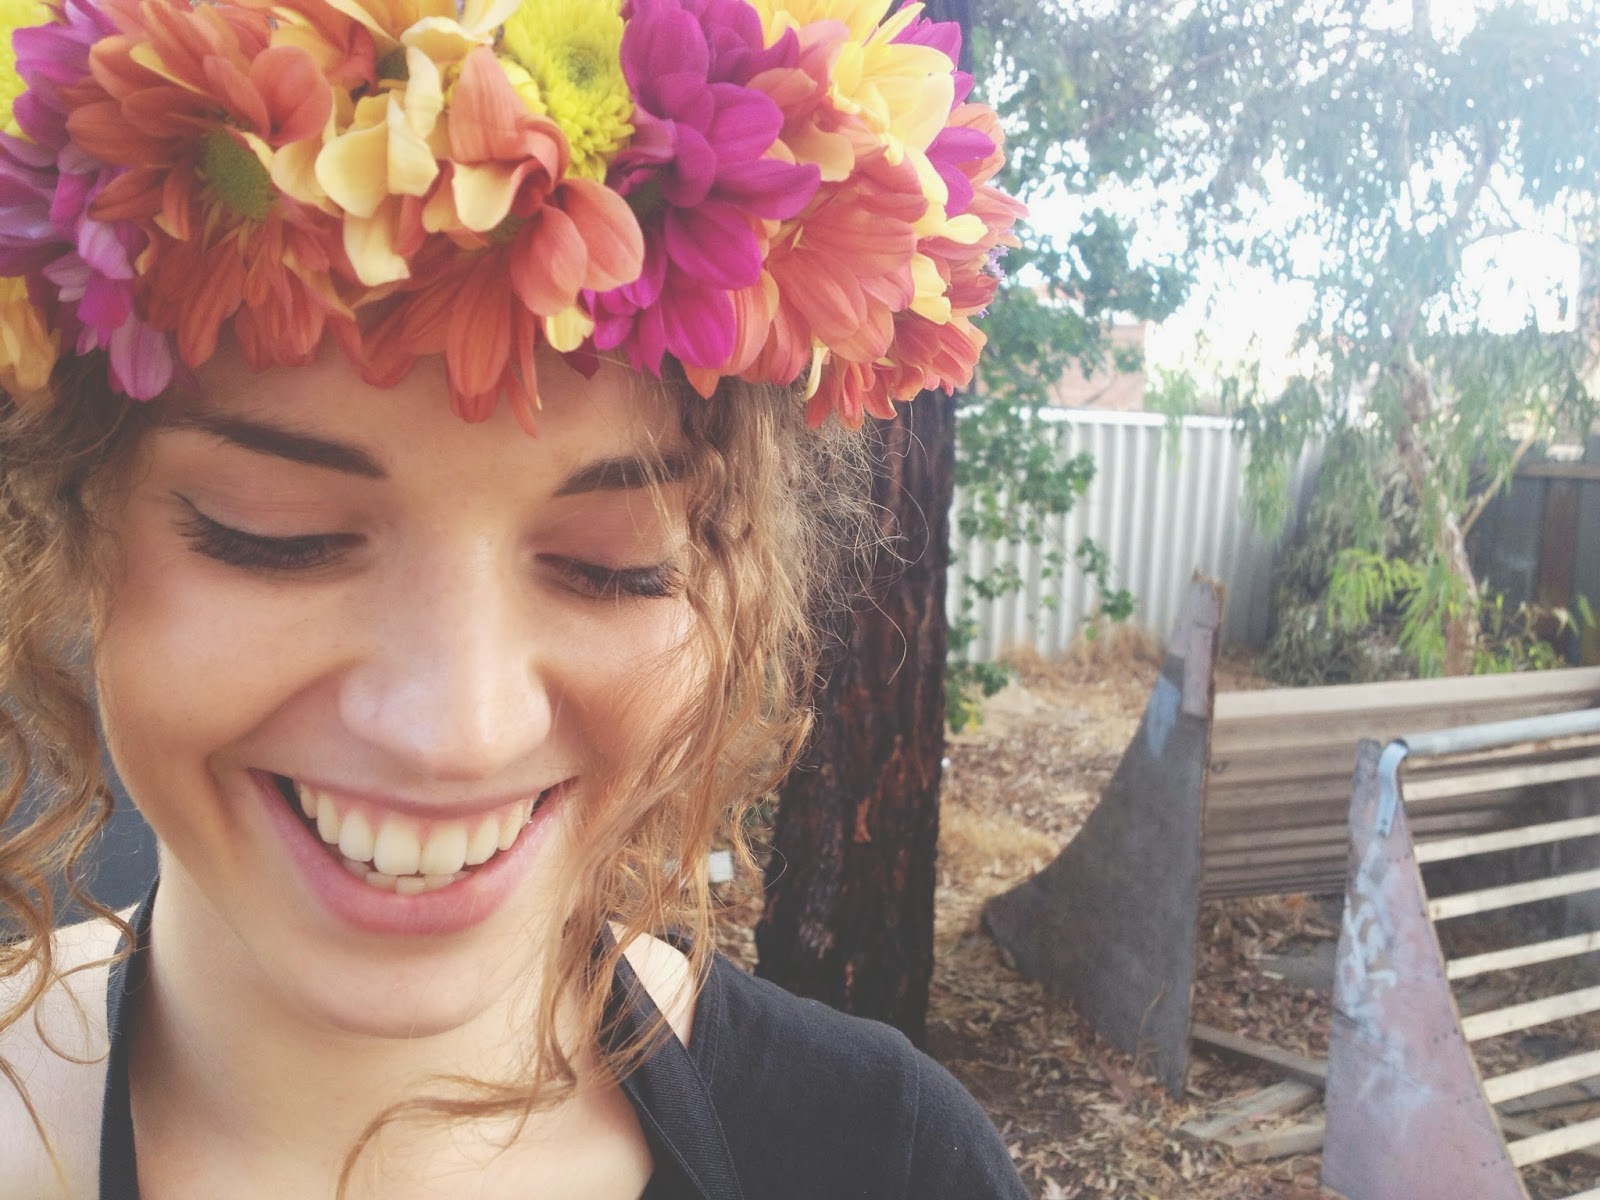
Now it may not be perfect and if it is your insane for i remember my first one looked like i had sat on some flowers and stabbed wires into them, still i'm trying to perfect the steps but i hope if you attempt to make a flower crown of your own you enjoy the process as i always do. Its such a lovely activity and the end product if you are pleased with it fills you with an even more immense feeling, Below is my most beautiful friends hannah and lilly one wearing the piece i just walked through putting together and another done in blue.
~ Enjoy playing~